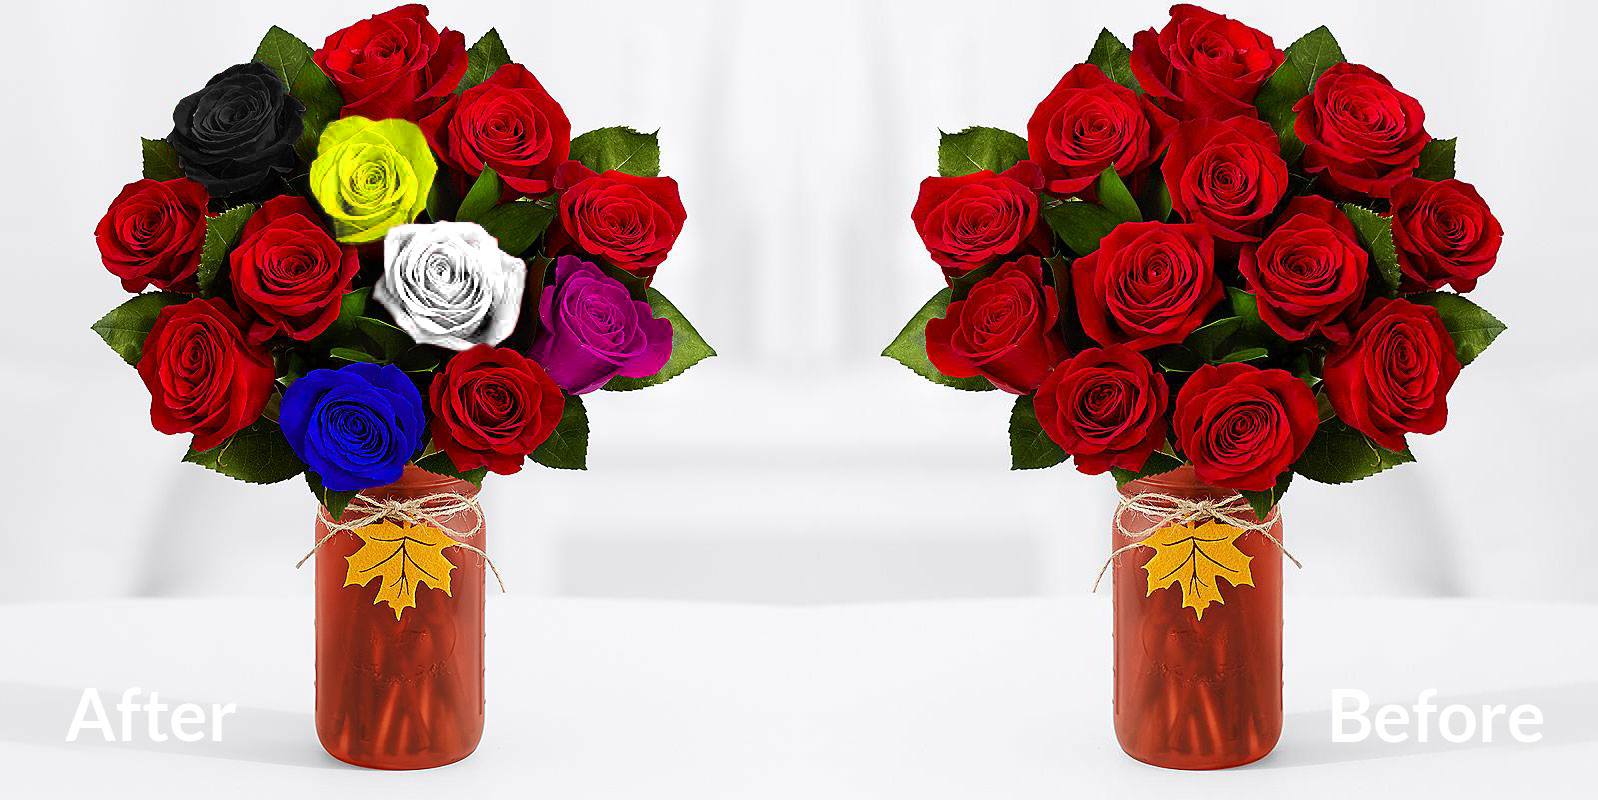
An introduction to Color Correction.
Make an adjustment with color adjustment layer:
We can make color correction of a photo with different techniques. Though it is best practice to use Adobe Lightroom for making adjustment of your photos, we can make color adjustment with Adobe Photoshop also. we can use a color adjustment layer for making changes to specific parts of an image. Photoshop have different types of tools and options to give a beautiful look of our photos by changing different kinds of color.
There are many options and tools to give a beautiful look in your photos. We can correct the color of our photos in the options image>Adjustment. But it is best practice to make a color adjustment with the above techniques.
Photoshop is an amazing application software for editing photos and making many designs. I used Adobe Photoshop CS6 here. Though all of these options are available since many lowest version of Photoshop.
So we can start now. Today I will discuss the following topics:
- Color Adjustment Layers.
- The Properties Panel.
- Changing contrast with Brightness / Contrast.
- Making color casting with Color Balance.
- Fixing the white and black points with Level’s auto option.
- Adjusting the opacity of a color adjustment layer.
- Curves Basics.
- Hue/Saturation.
- Color Balance.
- Brightness/Contrast
- Black and White.